
The Ultimate Guide to Two-Color Powder Coating & Precision Masking
Why It’s Tricky & How to Succeed At It
There are several methods to accomplish multi-color powder coating with detailed step-by-step instructions for each approach. Key variables include powder type, heat requirements, size/mass of part, flow-out temperature for each powder, appropriate tape to use, and more.
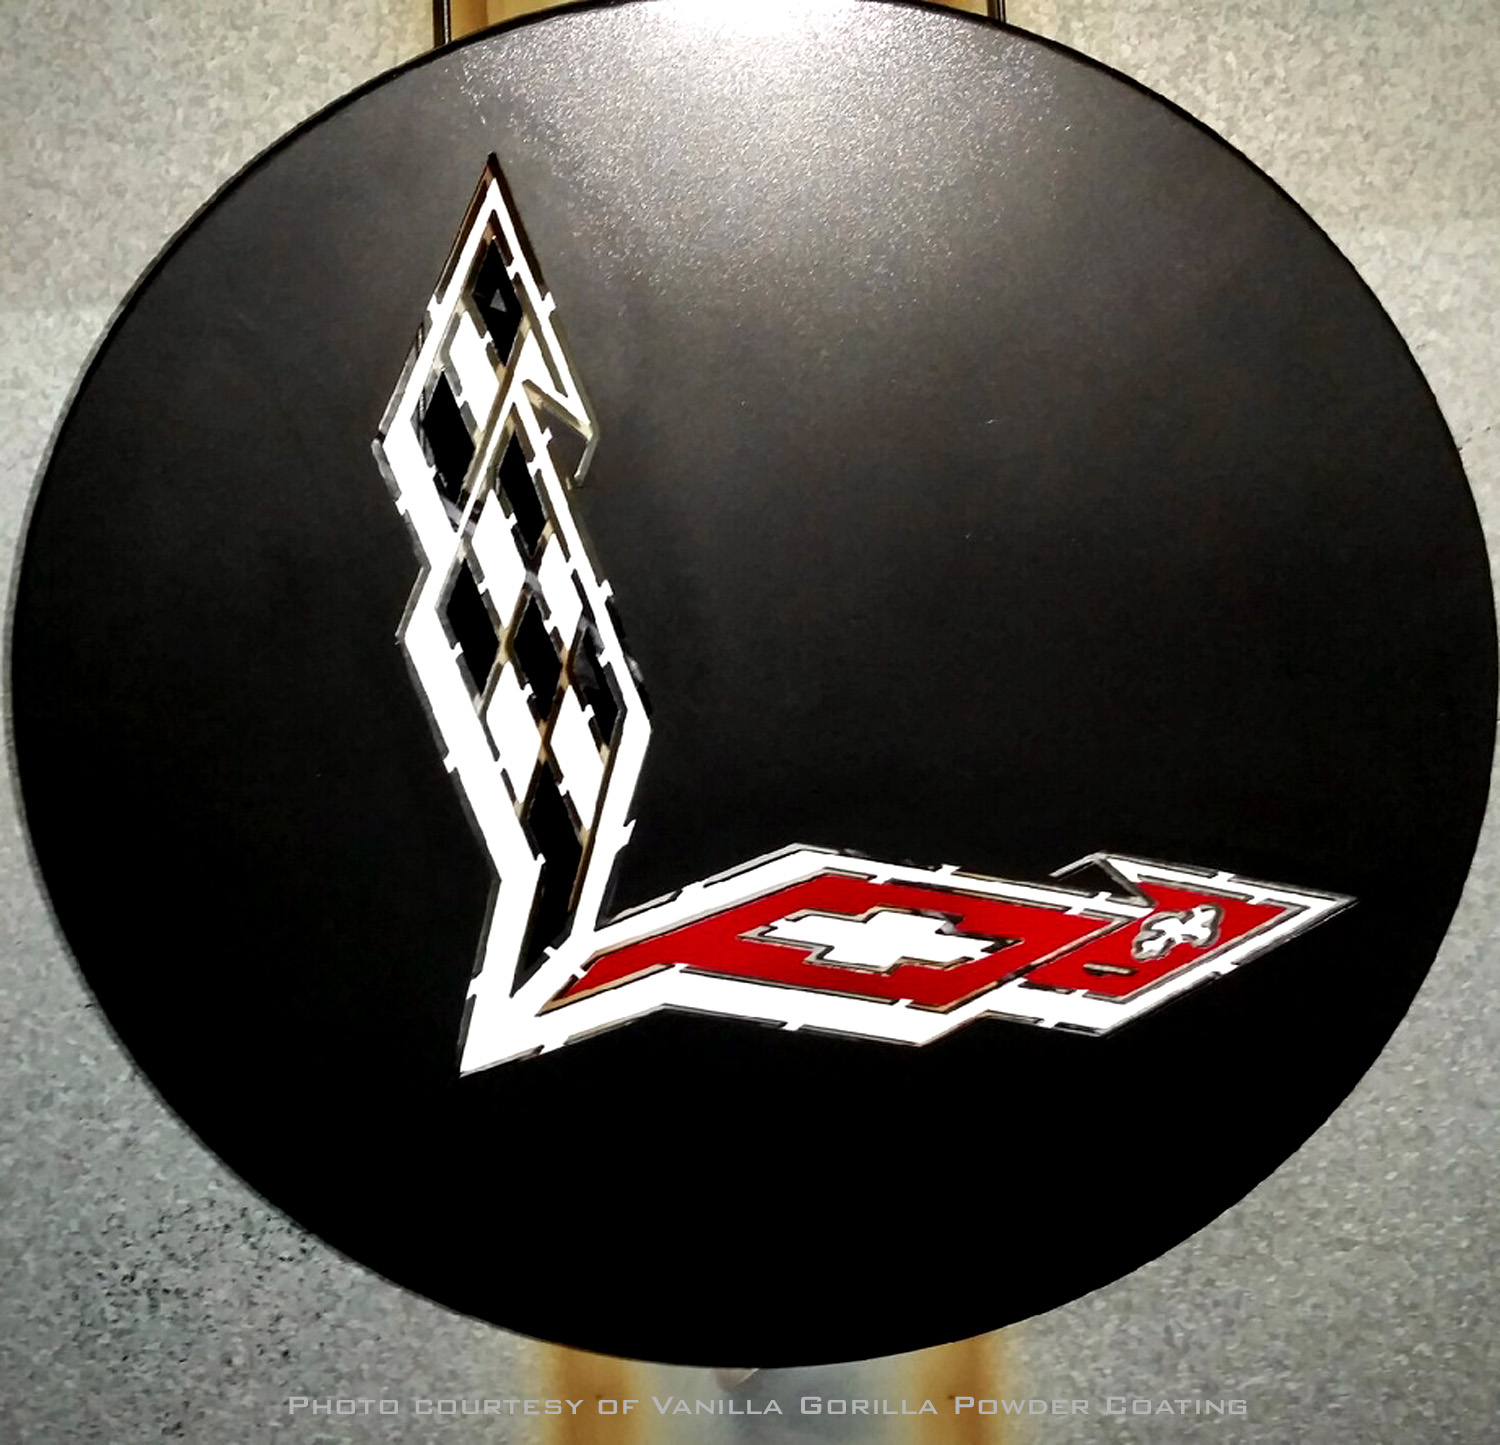
Procedure #1: Partial Cure Between Coats
- Clean part thoroughly
- Shoot part with first color
- Partially cure first color in oven (do not full cure, especially white powder). For high gloss first coat, cure to 75%. If matte/flat first coat, cure to 50%.
- Let part cool completely
- Mask areas that are to remain first color
- Shoot part with second color, covering over unmasked first color areas
- Fully cure both powders in oven
- Remove part, let cool, remove tape
Critical Warning: Before working on customer parts, always be sure to test the compatibility of powders - some colors “bleed” into others.
Recommended Tapes for Procedure #1: Green Polyester tape (400°F), Orange Polyester tape (425°F), Polyimide tape (500°F), Glass Cloth tape (500°F)
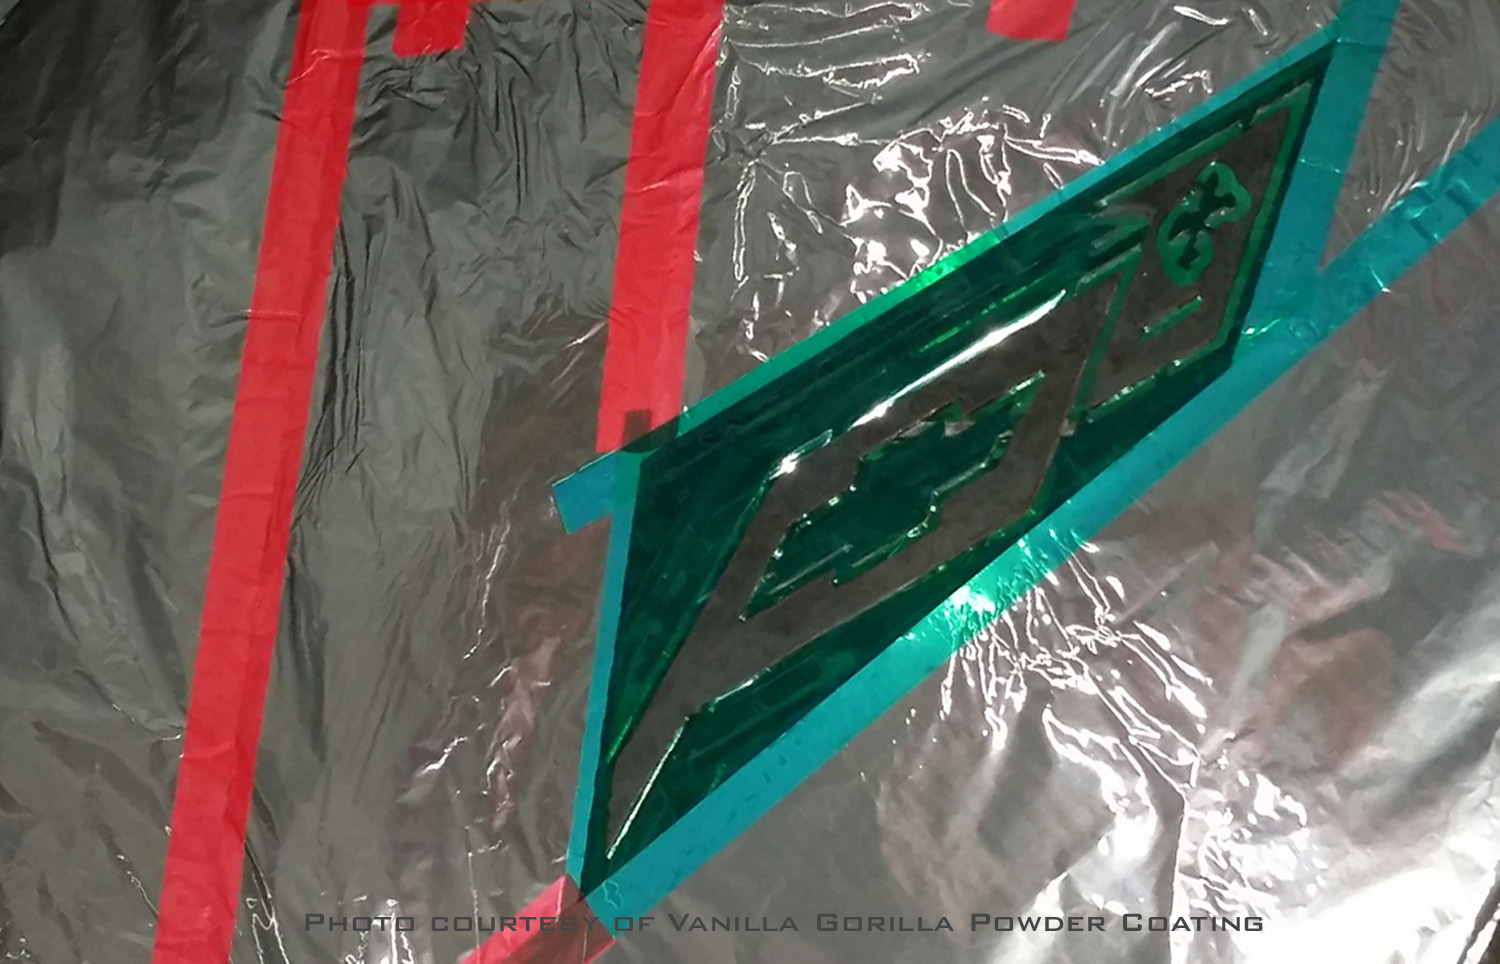
Procedure #2: Minimal Heat Between Applications
- Clean and mask piece as per usual for a first coat
- Cure at minimum time and temperature per manufacturer’s recommendations
- Remove from oven; allow part to completely cool
- Apply masking tape for second layer
- Apply powder, and partially cure—only enough to change powder from powder to just before “wetting out,” around 180-200 degrees F
- Remove part from oven, allow part to cool again
- Remove masking tape. Be careful of second coat in this condition
- Place part back in oven, finish cure for recommended length of time
Note: Viadon strongly suggests practicing these procedures first on non-critical parts.
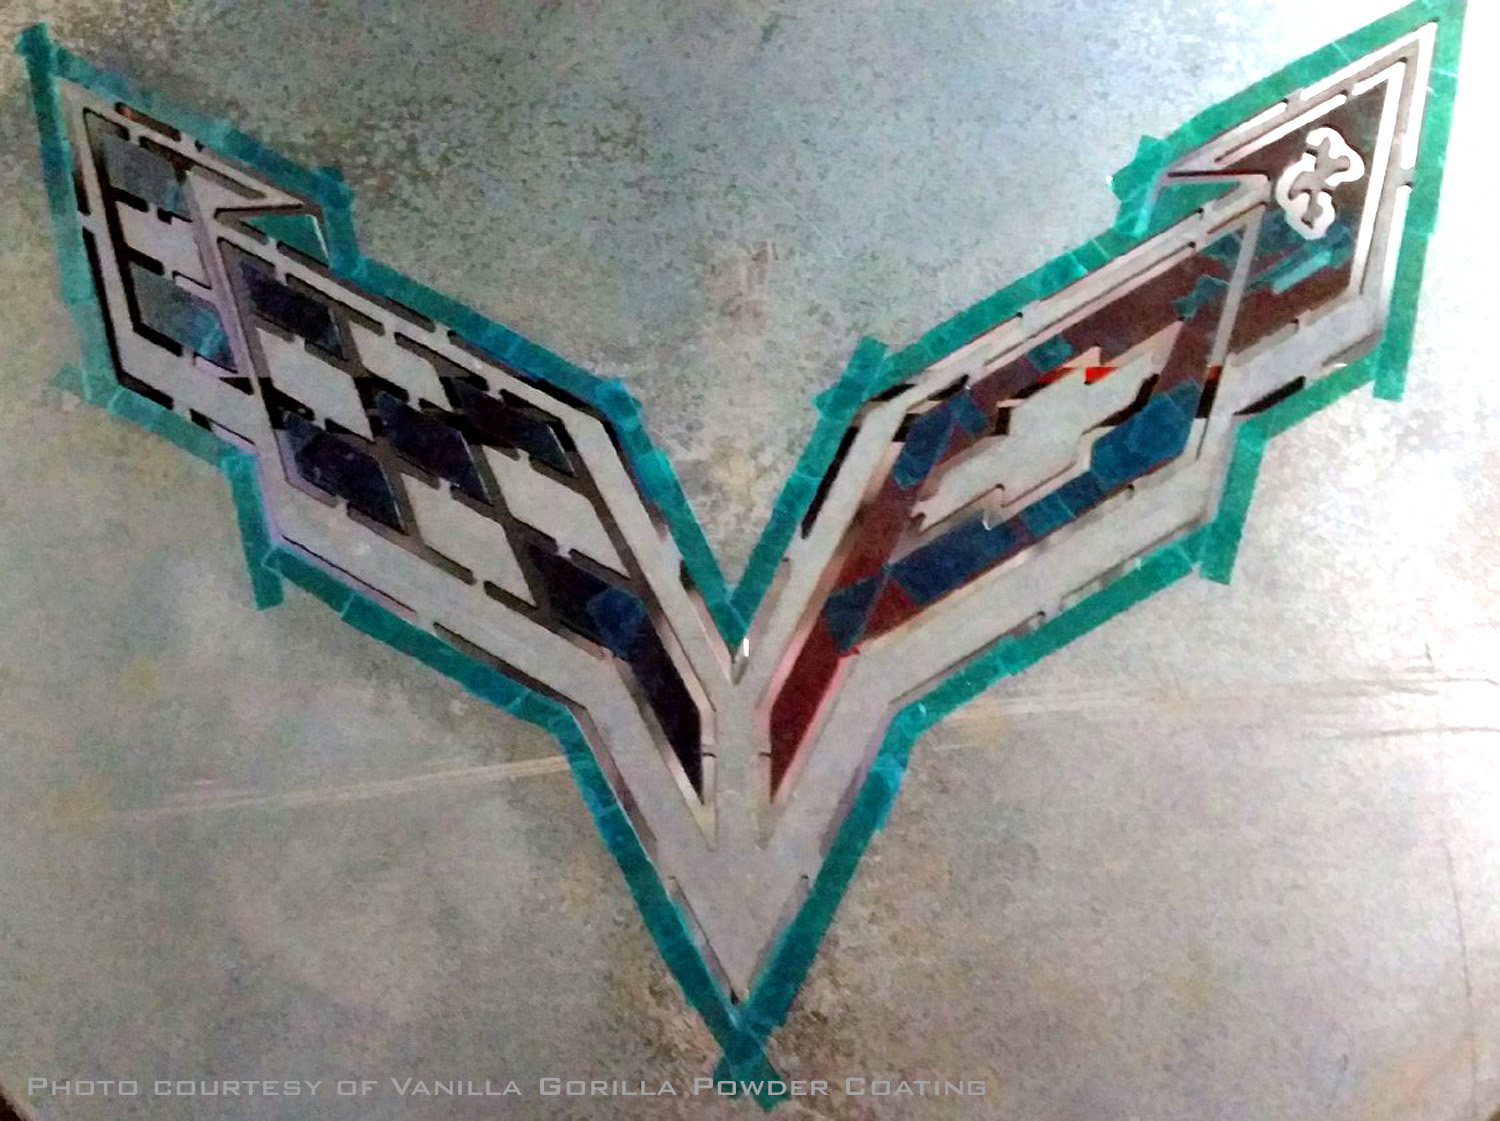
Procedure #3: Vacuum Removal Method
- Clean part thoroughly
- Shoot part with first color
- Using a specialized vacuum system with a fine-point nozzle, “suck” dry powder off areas intended for the second color (using a 3D-printed template or CNC-guided head can ensure perfect repeatability)
- Partially cure first color in oven
- Let part cool completely
- Shoot second color into the now-bare areas (the “negative space” created by the vacuum)
- Vacuum powder from areas where the first color should show and/or any bare metal areas that should be powder-free
- Fully cure both powders in oven
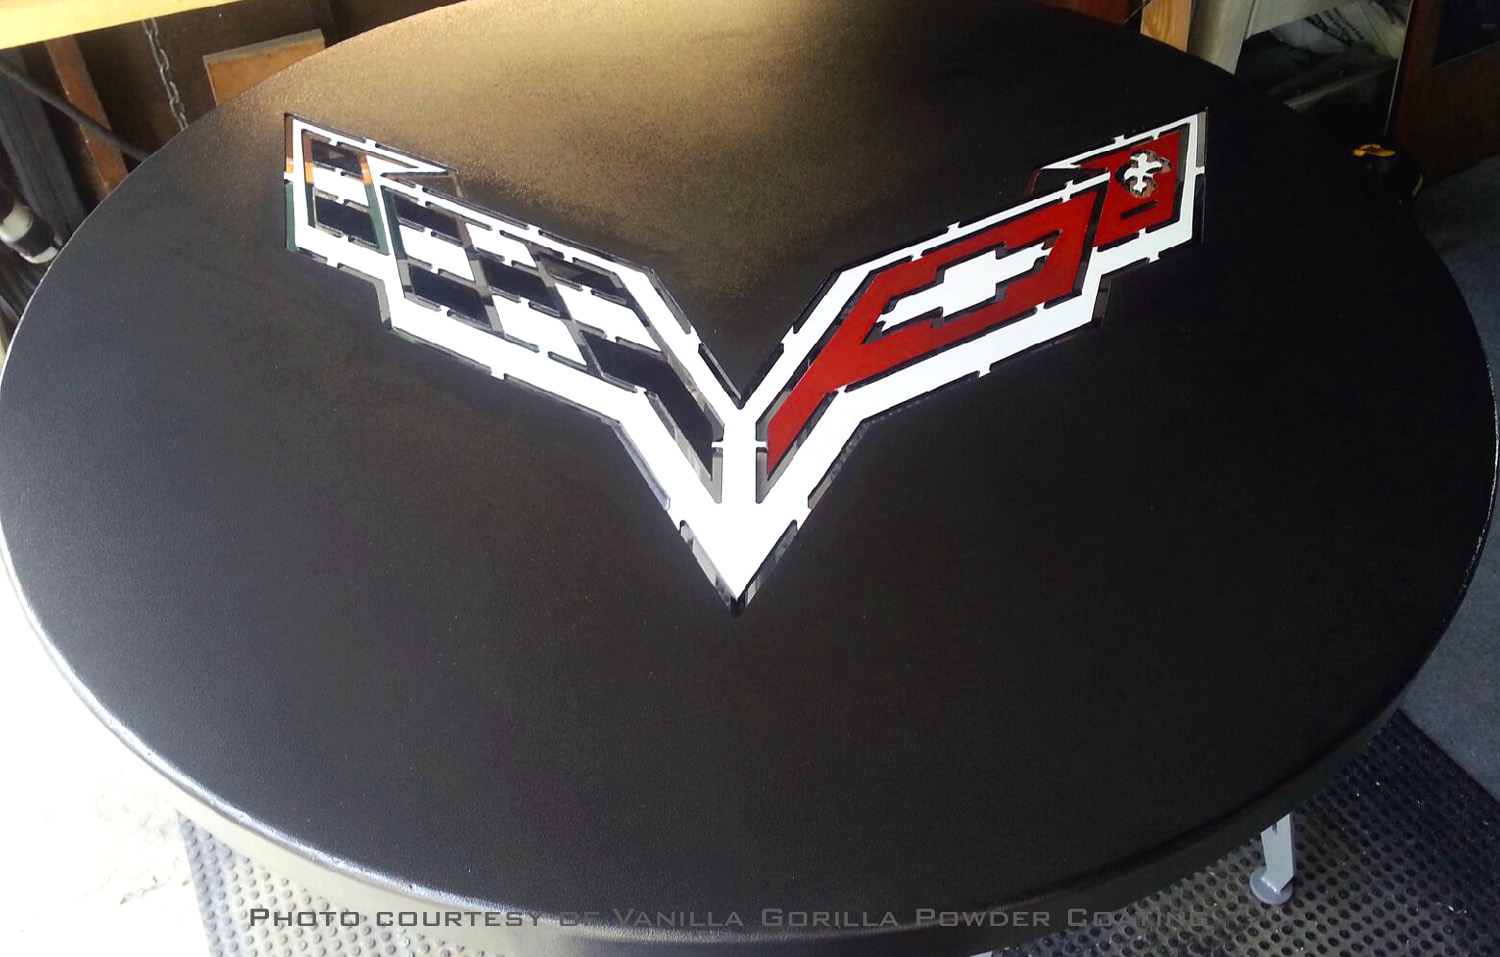
Vacuum removal is a “pre-cure” process, removing dry powder coating applied to a part. It is exceptionally effective for complex, recessed logos where applying masking tape would be nearly impossible or too time-consuming.
Understanding Intermittent Heat
All powder coating masking tapes are rated for “intermittent heat.” What this really means is that the adhesive, and sometimes the carrier (the plastic or fiber part of a tape), can only withstand a certain maximum temperature for a given period of time.
For example, the popular green polyester powder coating tapes many American tape manufacturers produce (that Viadon carries) are rated to 400°F for up to 1 hour. The part may only be at 350°F for 10 or 15 minutes, but it may have been in the oven for 45 minutes total time, in order to heat up the entire mass of metal to that temperature.
Tape Selection for Multi-Color Jobs
Try using a higher maximum temperature tape for the masked sections that must go through more than one oven cure cycle.
Viadon’s orange polyester tape is rated to 425°F; many customers have greater success with this tape for two color applications, because for smaller parts that heat up quickly, there is some additional temperature buffer between a 350°F cure temp and the 425°F max temp (18%), compared to the 400°F tapes (12%).
For larger parts: Both glass cloth and polyimide tapes offer 500°F max temperatures. Glass cloth is thicker, at 7 mils, and may leave ridges if not removed prior to full cure oven cycles. Polyimide can leave cleaner lines, but due to its 1 mil thickness, may break when pulled off of fully cured parts, particularly for thicker powder applications.
When To Remove The Tape
A good rule of thumb is to heat the part to 180°F to 200°F. In many successful two color powder applications, the part is removed from the oven before the powder “flows out” or “wets” but after it has gone from powdery into a “melted” state.
When the powder is wet, removing tape will cause the powder to be “stringy” like melted cheese pulled from a piece of pizza. Letting the part cool for a few moments can be the difference between stringy and a “clean” tape pull.
A Few Last Points
- Removing tape from a warm part is almost always easier than removing it from a cold part. This can also reduce the incidence of powder flaking off from parts.
- To get the best lines between colors, if possible, remove all tape between colors before full cure. This softens the edge between the two colors.
- Alternatively, shoot the entire part with clear coat after partial-cure of first two colors, to reduce harder edges along lines.
- While 180°F to 200°F is typical for most powders as the right temperature to remove tape, some coaters remove tape as low as 130°F.
- First coat will increase resistance; adjust gun settings to compensate for this (lower voltage or limit current). Increase gun to part distance slightly. Due to these changes, powder delivery settings should be increased 10-20 percent.
Following these guidelines will help small custom powdercoaters have the best chance of success at powder coating parts with more than one color.
Experiment, practice, and write down results for various parts, tapes and powders to find what works best for you, so you can repeat successful results in the future.
FAQ: Multi-Color Powder Coating
Why is a partial cure necessary for the first color in a multi-tone job?
A full cure of the base layer can create a surface that is too “slick” for the second layer to bond to. By curing the first coat to approximately 50% (for matte) or 75% (for gloss), you leave the resin slightly “open,” ensuring the two layers chemically cross-link during the final bake for superior inter-coat adhesion.
Which masking tape is best if the part needs to go through the oven multiple times?
While Green Polyester tape is the industry standard, Orange Polyester tape is highly recommended for multi-stage processes because it offers a higher temperature buffer (425°F). For very heavy parts with long soak times, Polyimide tape or Glass Cloth tape provides the best protection against adhesive failure during extended heat cycles.
When should I use vacuum-assisted powder removal instead of masking tape?
Vacuum removal is ideal for complex geometries, fine-line detailing, or recessed logos where hand-masking with tape would be too intricate or time-consuming. This “pre-cure” method allows you to remove raw powder before the first bake, eliminating the risk of adhesive residue and creating a perfectly flat transition between colors.
Should I remove the masking tape while the part is hot or cold?
Removing tape while the part is warm (ideally between 180°F and 200°F) is generally best to prevent the powder from flaking or chipping at the edges. If the powder appears “stringy” like melted cheese, the part is too hot; allow it to cool for a few minutes to achieve a cleaner break.